
PhotoRescue Best Practices for Data Recovery
The reliability of the flash memory based cards used in digital cameras has increased tremendously since the late 90s. However, those cards still fail and, when they do, death comes suddenly. Whereas cards that have been formatted by mistake or where pictures have been erased can be recovered without special precautions, we recommend special care when dealing with cards that have caused lockups or have behaved erratically. In those cases, there is only one way of minimizing the risk of failure: access the card as little as possible.
PhotoRescue allows you to take true bit-by-bit backups of memory cards or external hard drives on your internal hard drive (we call them card images) and to carry out the data-recovery from that image. We recommend that you first take a backup of any damaged card you want to recover from and then recover from that backup. Note: DRDD, our freeware data-recovery oriented disk imager can also be used to create card images and has some advantages when attempting recoveries from severely damaged disks or cards.
Working from a card image has several advantages
- hardware safety: the card only needs to be read once. It will not have to go through the multiple passes a direct recovery situation may require.
- speed: by moving the card's content to an internal hard drive, one doesn't have to suffer from the limited speed of the USB 2.x interface. Even Firewire card readers are slower than current SATA interfaces.
- operator safety: even if mistakes are made during the recovery, such as reusing the card, or attempting to fix it - for example with chkdsk - a backup copy of its original content still exists.
Working from a backup has one drawback: the free disk space necessary for the recovery is doubled.
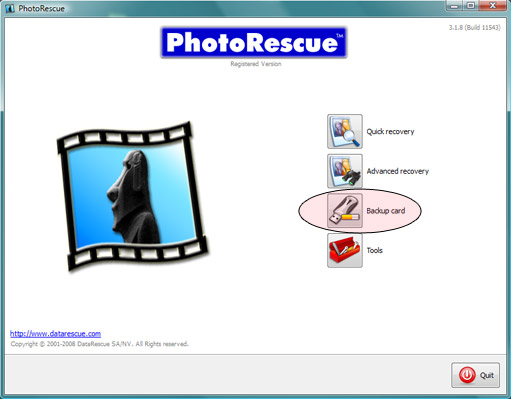
Let's get to work and use the card backup function. With the card to recover inserted in a card reader connected to your computer, click the "Backup Card" button.
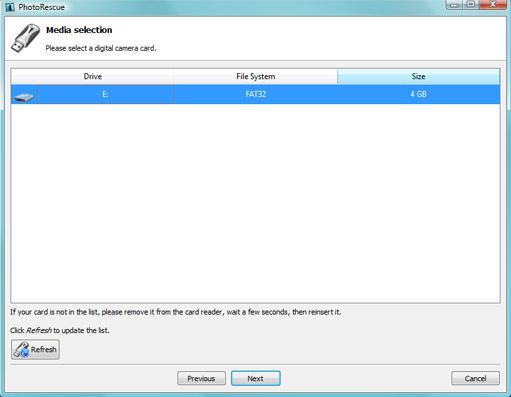
This gets you to the standard device selection menu where, in this case, we are going to work on a 4GB card. Click "Next"
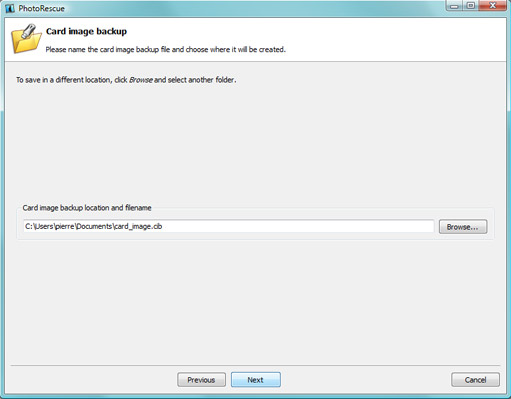
By default, PhotoRescue creates its backup in a file called card_image.cib. You may of course change the backup name or location. This is an uncompressed, unencrypted copy of all the content of the card, with a few bytes of additional header information. The card_image file will have the same size as the card itself (plus the header bytes): make sure your hard drive has enough free space available for the card image and the recovery. Click Next
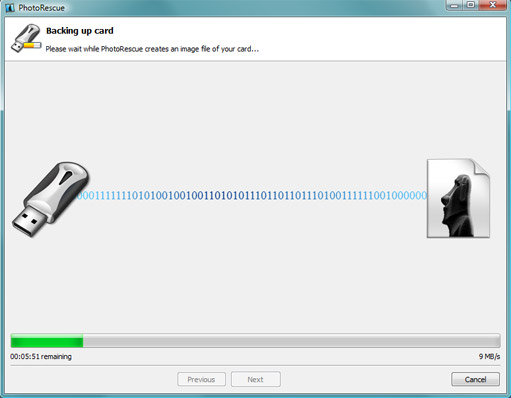
PhotoRescue begins its copy of your memory card. On a typical off-the-shelf USB 2.0 device, the transfer rate will average 9-10 MB per second, but may possibly be smaller of the card is damaged as failed reads will cause retries. Cheap 500GB hard drives (as of January 2009) will typically offer a 60 MB per second transfer rate. That's 6 times faster than your card reader and this performance increase will be of great benefit during the recovery as multiple passes and many image renderings are attempted.
Once the card image backup has been created, recovering from it starts as a normal recovery. Start PhotoRescue and either click on "Quick Recovery" or "Advanced Recovery". Instead of selecting a device to recover from, click on the "Load Card Backup" button at the bottom right of the device selection Window.
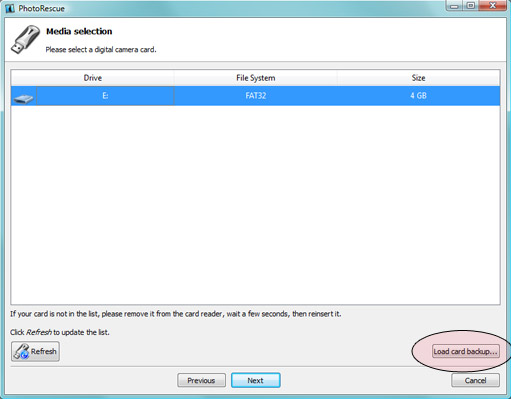
PhotoRescue Loading a Card Backup
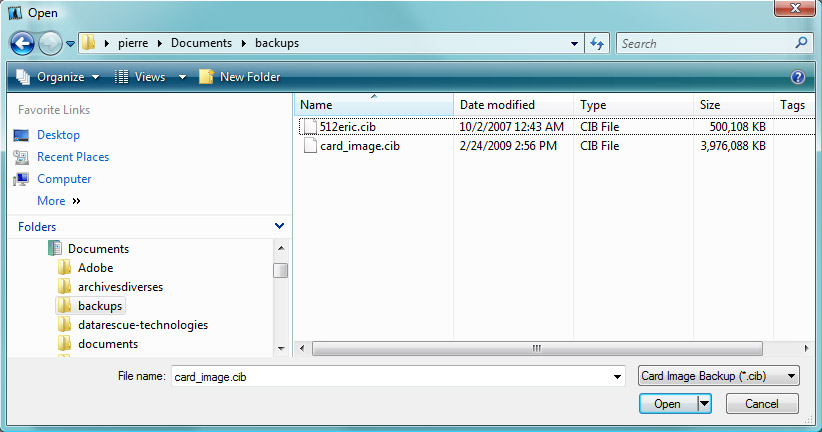
A file selection window opens, that allows us to use the backup we have just created as backup source. In this case, we will use the 3.976.088 card_image.cib we just created and launch the recovery on it.
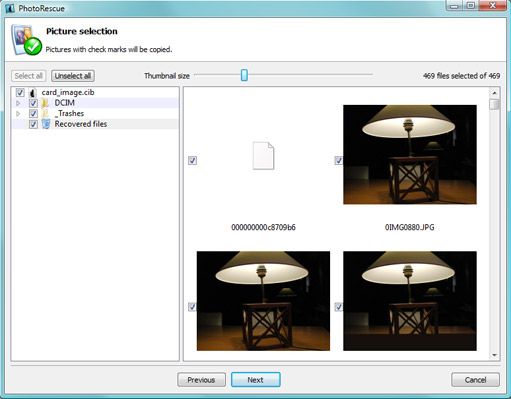
The recovery proceeds normally, just a bit faster than it normally would, and here is the result, a result that was obtained without putting the card at risk of further failure.
Timings
| Recovery config | Timing |
|---|---|
| 4GB SD card, card reader, cache, 8GB Vista 64 system | 8 min 16 sec |
| 4GB SD card, card reader, no cache, 8GB Vista 64 system | 8 min 29 sec |
| 4GB image with creation, 8GB Vista 64 system | 7 min 39 sec |
| 4GB image, recovery only, 8GB Vista 64 system | 1 min 09 sec |
February 2009
