
Using PhotoRescue to recover data from your Android Phone.
PhotoRescue isn't limited to recovering data from Compact Flash or SD Cards. Any device that can present itself as a "Mass Storage Device" can be a target for data recovery. In this example, we will recover data erased from a Samsung Galaxy S II smart phone. While by default the phone may seem only accessible through the Samsung Kies software, it can, like many others smartphone, behave as a USB Mass Storage device.
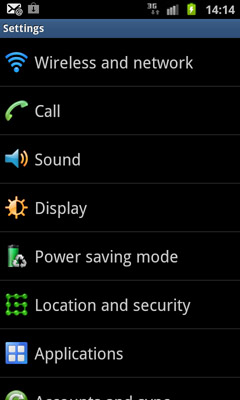
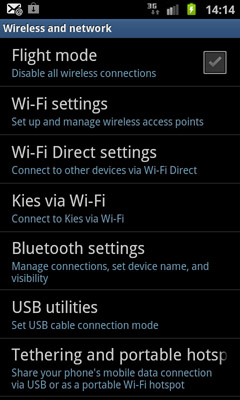
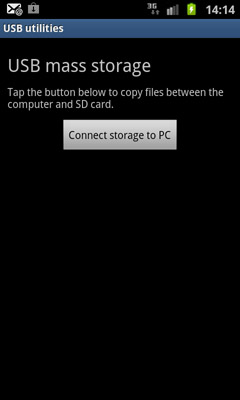
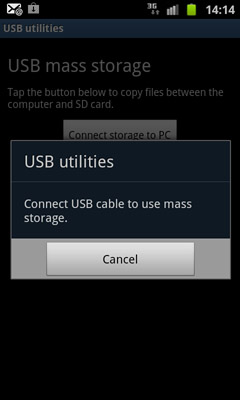
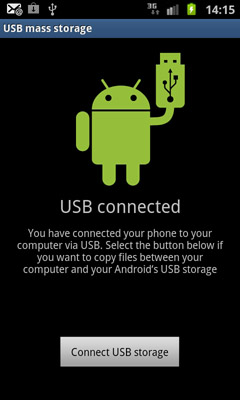
The first step is to activate the USB Mass Storage behaviour on the phone. In order to do so, go to settings, tap Wireless and network, tap USB utilities, tap Connect Storage to PC, connect your USB cable (eventually waiting for the drivers to auto install themselves, and finally tap the Connect USB Storage button.
At that point, the phone will appear as a normal drive on your desktop. Launch PhotoRescue, select the drive

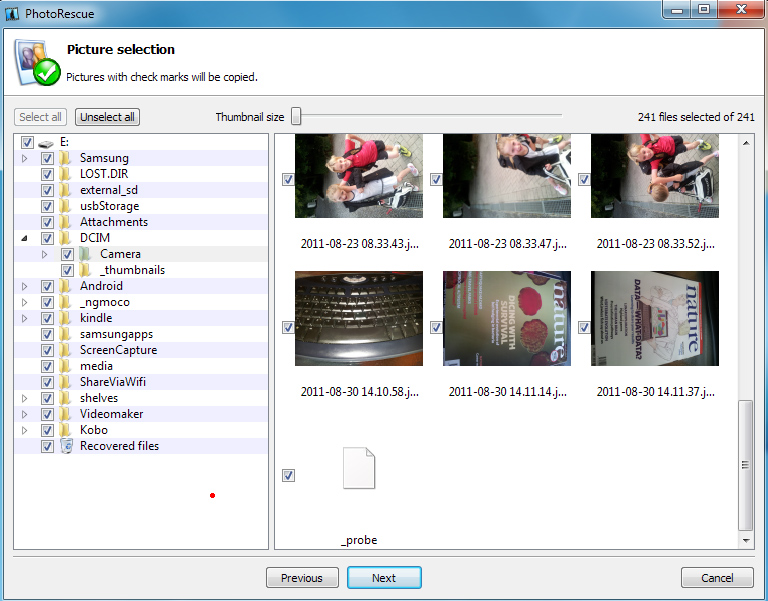
and start a recovery (in this case, a quick recovery). PhotoRescue will scan the phone as if it was a standard USB stick or card connected to a card reader. In this test case, we chose to erase two of the four magazine cover pictures we have taken. The following screenshot shows what remains in the normal DCIM folder used by the Phone's camera.
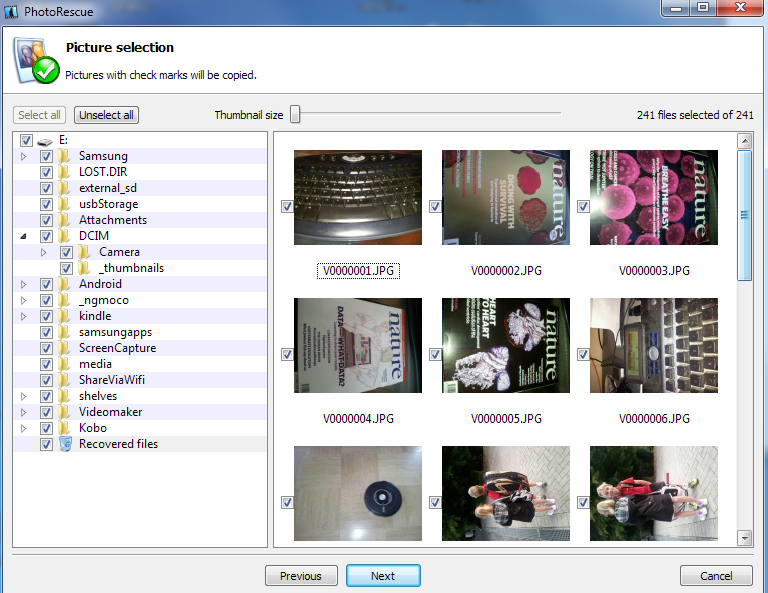
and the screenshot below shows the result of the recovery. Since erasing files explicitly deletes their file names, PhotoRescue couldn't restore them, but it did find the picture data through scanning of the USB Mass Storage device allocation units.
That's all there is to it, at least with a Samsung Galaxy S II smartphone.
A few additional words.
The world of smartphones being a jungle full of similar but slightly incompatible devices, there's really no guarantee that you will be able to put a specific phone in USB Mass Storage mode. Still, on Android devices, there usually is a way. Below are a few tips.
Your phone might be a USB Mass Storage device by default. In that case, you may use PhotoRescue to recover data from it immediately.
Your phone might have, as it is the case here, a semi-hidden USB Mass Storage mode. Put that phone in that mode in order to use PhotoRescue on it.
If your phone doesn't have a USB Mass Storage mode available, it is often possible to add it by using a modified kernel or a kernel extension (that either does or does not require a firmware reflashing). Please note that while this procedure is harmless - Android phones are meant to be open and extendible - it requires a fair amount of technical knowledge. The XDA web site is a great resource for information about your specific model of phone or tablet. Last but not least, it is a good idea to install that USB Mass Storage support before you need it for data recovery. Installing any program, or taking any additional footage or pictures, on a smartphone where data has been lost will seriously compromise the quality or recovery. The memory in the phone is in constant use, in a much more dynamic way than in a camera. Writing data to the phone is likely to overwrite the areas that contain the data necessary to restore your lost files.
We'll return to the topic of smart phone and tablet data recovery shortly. Stay tuned.

PhotoRescue News
![]()