PhotoRescue Advanced and PhotoRescue are (c) DataRescue sa/nv 2001/2002
| PhotoRescue Advanced offers uniquely powerful tools to assist picture
recovery. It is however more complex to use than the standard version of
Photorescue.
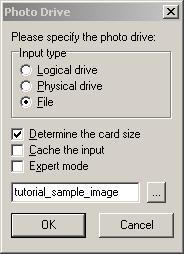
This tutorial uses an real world 16MB compact flash card image. This card was reused many times (leading to picture fragmentation), reformatted on a Mac Intosh. Further, on many occasions, we copied random files and created new subdirectories, overwriting large chunks of data. Finally, we overwrote its MBR (master boot record) with bogus data and it is not recognized by the operating system anymore. As you would expect, the majority of the original pictures are gone. As a matter of fact, I am surprised that Photorescue can still find pictures on it! Now, lets go on with the tutorial. First, we launch Photorescue and run a normal recovery procedure: |
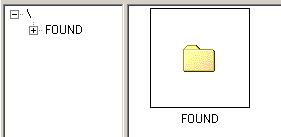
| For this tutorial, we will use the default options. As soon as the normal recovery completes, click continue in order to see the recovery results. Since the card was reformatted, all the directory information has been lost and the recovered pictures are in the FOUND directory: |
|
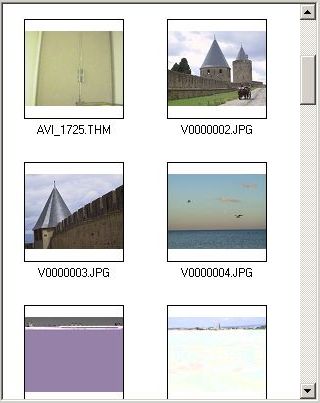
Let's open it and see what the result of the automatic recovery is. We first see files with strange names such as DESKO~1, OPENFO~1, FINDER.DAT, etc... These files were created by the operating system when the card was inserted into a reader connected to a MacIntosh. Important note: this means that as soon as you insert a card and Mac OS X recognizes it, it creates new files, and possibly overwrites your valuable data. In such cases, pictures whose data has been overwritten are definitively lost ! PhotoRescue still has recovered some nice pictures: see V0000003.JPG file example. |
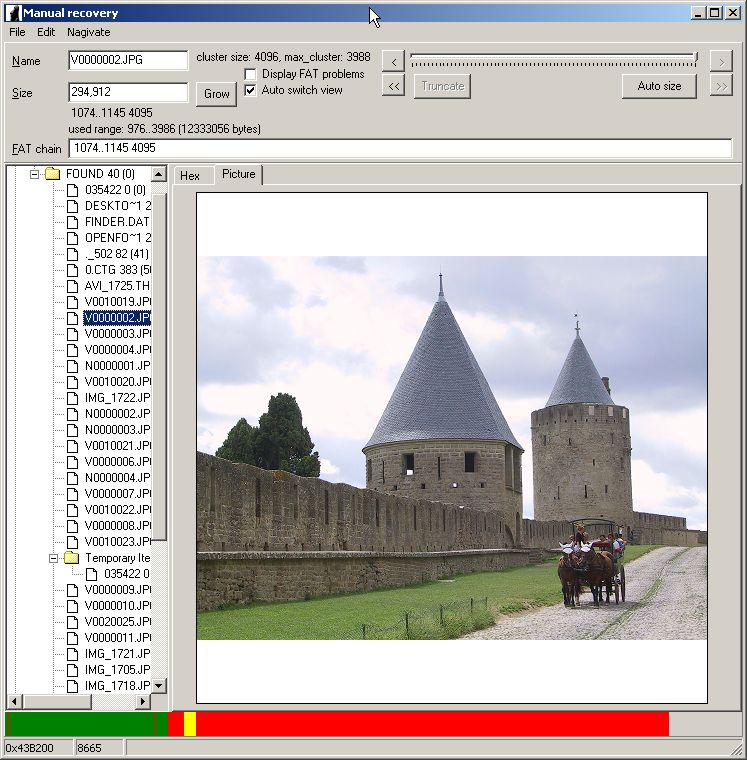
| We will now try to recover more pictures than the automatic procedure. Press F2 to open the advanced recovery window (it is also available from the popup menu). |
|
The tree on the left of the recovery windows contains the following branches:
Hiding Recovered Files We will focus our attention on the RECOVERED files. This is our work area. First of all, let's remove correctly recovered pictures from our consideration. Click on the file name. It's image should appear on the right of the tree. If the picture has no anomalies, right click and select "Hide": |

|
The following graphic files may be hidden. DVI_1725.THM: hide V0000003.JPG: hide V0000004.JPG: hide V0000005.JPG: hide V0000016.JPG: hide V0000018.JPG: hide IMG_1721.JPG: hide IMG_1705.JPG: hide V0000025.JPG: hide V0000026.JPG: hide V0000030.JPG: hide V0000031.JPG: hide V0001039.JPG: hideThere is a faster method of cleaning up the work area. The "mark as recovered" menu item is avaiable in the main window popup menu. There you can select several images and hide them at once. The only drawback of this method is that you see thumbnails and it is difficult to judge if the picture is perfect. For example, the picture V0001032.JPG look nice on the thumbnail, but on the enlarged image you'll see that bottom lines are, in fact, damaged. We will also hide the following non graphic files from the work area because we can not do much with them: DESKTO~1: hide FINDER.DAT: hide OPENFO~1: hide _502~1: hide D.CTG: hide TEMPOR~1: hide _502~1: hide 502: hide 502: hide _TEMPO~1: hideOur workspace now only contains crippled pictures, which we will try to improve. The recovery procedure is iterative goes through two distinct phases: the truncation of crippled files where data is wrongly appended. the growth of short crippled file. We will repeat these steps until we recover all pictures or we can't improve on the situation.. |
Let's take, for example, V0001032.JPG.
It is listed to be 479232 bytes long. Press the "Auto size" button to
calculate the minimal size that the file can have while keeping its appearance
- in other words, we eliminate invisble appended data.
V0001032.JPG: calc size: 409600 bytesBut this is not enough : the bottom lines obviously do not belong to the original picture, so we will remove them by pressing the "<" button several times. The resulting picture is not complete, but do not worry about it for the moment, just truncate the file to a valid border (press "Truncate"): V0001032.JPG: truncate to 401408 bytes |

By truncating the file we released clusters mistakenly appended to the
picture. These clusters, which could have been parts of other pictures,
are now available for further analysis. Let's repeat these steps for the
remaining files. Autosize, manually remove erroneous clusters (press "<"
several times), truncate.
N0000001.JPG: calc size: 69632 bytes
N0000001.JPG: truncate to 65536 bytes
Please note the autosize does not always give the correct size of the picture for all the files. For example: V0001034.JPG: calc size: 217088 bytes V0001034.JPG: truncate to 98304 bytesWe had to manually specify the real file end. The easiest way here is to press the "<<" button. This button removes one contiguous chunk from the file:
|
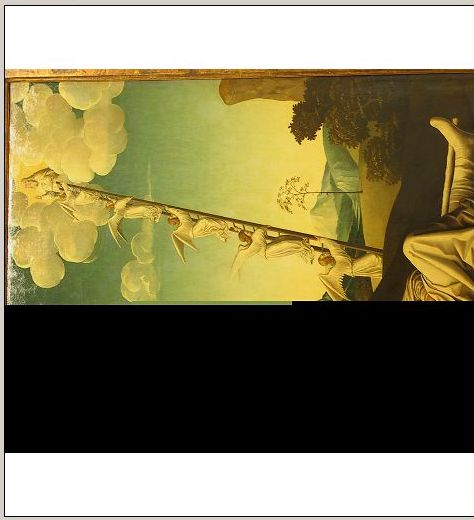
| Here we have to do it manually too. The resulting picture is only a narrow band, but don't worry, we are going to append something to it later: (Keep this image in mind !) |
IMG_1722.JPG: truncate to 12288 bytesThe next two files, IMG_1723.JPG and N0000006.JPG, can not be rendered to a picture at all. The file size is too small, the rest of the pictures is lost for the moment. V0001037.JPG: calc size: 331776 bytes V0001037.JPG: truncate to 135168 bytes V0000012.JPG: truncate to 45056 bytes N0000004.JPG: truncate to 139264 bytes V0000014.JPG: truncate to 110592 bytes V0001040.JPG: truncate to 12288 bytesV0001040.JPG could not be truncated to a reasonable picture part. So we truncate it to 12288 bytes. If we made it bigger, it would contain parts of other pictures: |
|
We can make is smaller, but we could remove essential information by doing so. So the safest approach is to truncate it 12288 bytes. V0000019.JPG: truncate to 12288 bytesHere the situation is the same. V0002049.JPG: calc size: 552960 bytes V0002049.JPG: truncate to 548864 bytes V0000021.JPG: calc size: 335872 bytes V0000021.JPG: truncate to 12288 bytes IMG_1718.JPG: calc size: 311296 bytes IMG_1718.JPG: truncate to 307200 bytesIMG_1719.JPG does not need to be truncated IMG_1712.JPG: calc size: 45056 bytes IMG_1712.JPG: truncate to 40960 bytes V0000029.JPG: calc size: 897024 bytes V0000029.JPG: truncate to 671744 bytesIn the latest case, we had to manually truncate the picture - the lower part of it is shifted.
|
Growing filesWe now have cleaner picture beginnigs. We can try to complete them by pressing the "Grow" button on by double-clicking on them. Of course we could do it before, but without all erroneous clusters released to the pool of free clusters it would not make much sense. Photorescue will build all possible continuations for the picture. For V0001032.JPG the best continuation is 1301..1331 because it completes the picture. To make sure that the picture is ok, double click on the thumbnail. The bigger image will be displayed on the recovery window. We select it and press OK. |
|
V0001032.JPG: append 1301..1331 (126976 bytes)Congratulations! We recovered one picture. But if we try to remove it from our work area, Photorescue will complain. Why? Because the new picture now again contains some garbage at the end. We remove it using the autosize-truncate pair: V0001032.JPG: calc size: 409600 bytes V0001032.JPG: truncate to 409600 bytesAt this point, we can remove the fully recovered picture from the work area. V0001032.JPG: hideWe'll try to do the same with other pictures. Most of the time the continuations are plain wrong. But we are lucky with at IMG_1722.JPG:
|
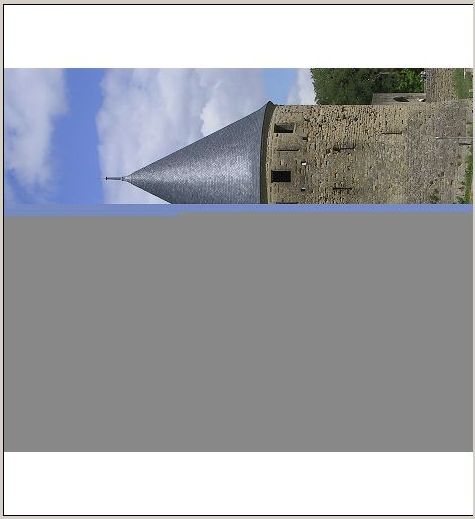
IMG_1722.JPG: append 1303..1331 (118784 bytes)
IMG_1722.JPG: calc size: 131072 bytes
IMG_1722.JPG: hide
It is always a good idea to check the file size by "autosize" after growing it and eventually re-truncate it. We are lucky with the next file as well. Initially it could not be rendered as a picture at all, but now we find two additional chunks for it. Try to grow it twice: |
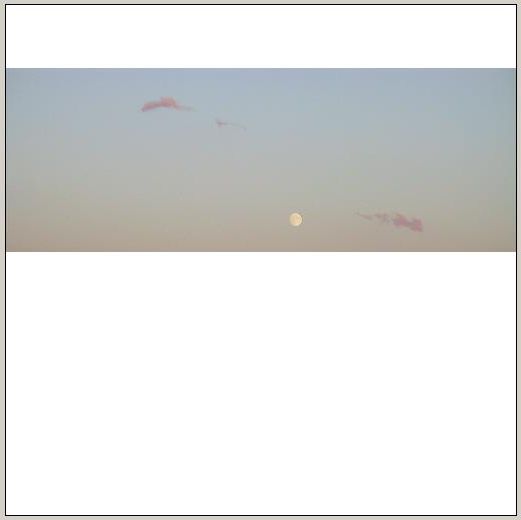
IMG_1723.JPG: append 2743..2774 (131072 bytes)
IMG_1723.JPG: append 2850..2857 (32768 bytes)
IMG_1723.JPG: calc size: 180224 bytes
Another picture emerges:
|
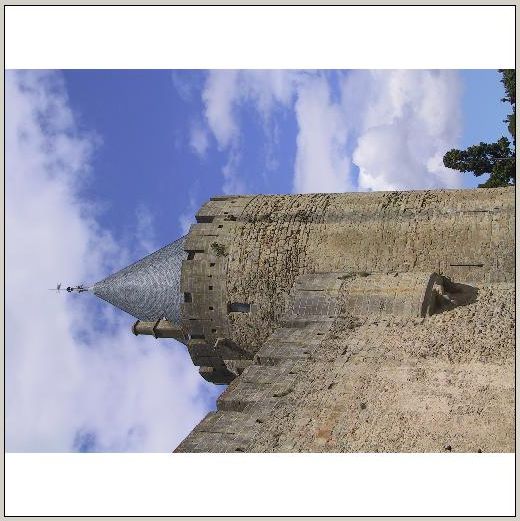
|
N0000003.JPG: append 1881..1907 (110592 bytes)
N0000003.JPG: calc size: 122880 bytes
How nice! We again complete another picture: |
V0001037.JPG: append 1609..1661 (217088 bytes)
V0001037.JPG: calc size: 352256 bytes
V0001037.JPG: hide
Another picture growing: |
V0000021.JPG: append 3095..3104 (40960 bytes)One more picture recovered: |
V0001040.JPG: append 2025..2142 (483328 bytes)
V0001040.JPG: calc size: 315392 bytes
V0001040.JPG: truncate to 315392 bytes
V0001040.JPG: hide
Alas, all other continuations do not make sense (try them yourself!). The picture N0000004.JPG looks promising with its continuation 3167..3239, but still there is one cluster missing and we can not recover it. Now that we have recovered all pictures we could, the rest is simple: close the recovery window and save the results in the usual manner. For your convenience, Photorescue keeps log of all your actions for your convenience. It is appended to the file called "recovery.log" in the current directory. The automatic recovery on this awfully corrupted card gave us 12 pictures and 1 thumbnail (THM). Our manual recovery, in addition to that, gave us:
|
Hints and tips
|